Note
Access to this page requires authorization. You can try signing in or changing directories.
Access to this page requires authorization. You can try changing directories.
This article describes self-managed shipping tasks to order, pick up, and drop-off of an Azure Data Box device. You can manage the Data Box device using the Azure portal.
Note
To get answers to frequently asked questions about Data Box orders and shipments, see Data Box FAQ.
Prerequisites
Self-managed shipping is available as an option when you Order Azure Data Box.
Self-managed shipping is only available in the following regions:
| Region | Region | Region | Region | Region |
|---|---|---|---|---|
| China East | China East 2 | China North | China North 2 | China North 3 |
Use self-managed shipping
When you place a Data Box order, you can choose the self-managed shipping option.
In your Azure Data Box order, under the Contact details, select + Add Shipping Address.
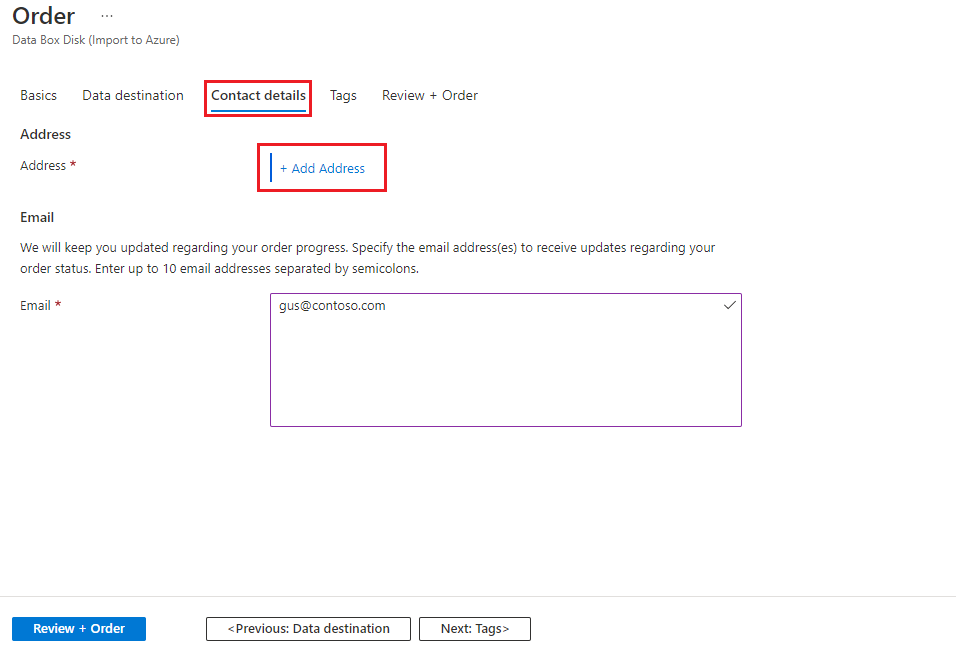
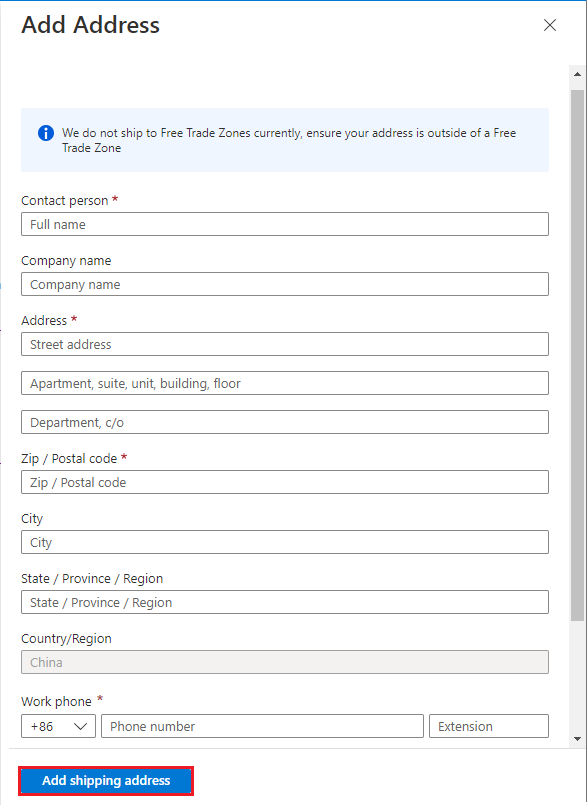
When choosing a shipping type, select the Self-managed shipping option. This option is only available if you are in a supported region as described in the prerequisites.
Once you've provided your shipping address, you'll need to validate it and complete your order.
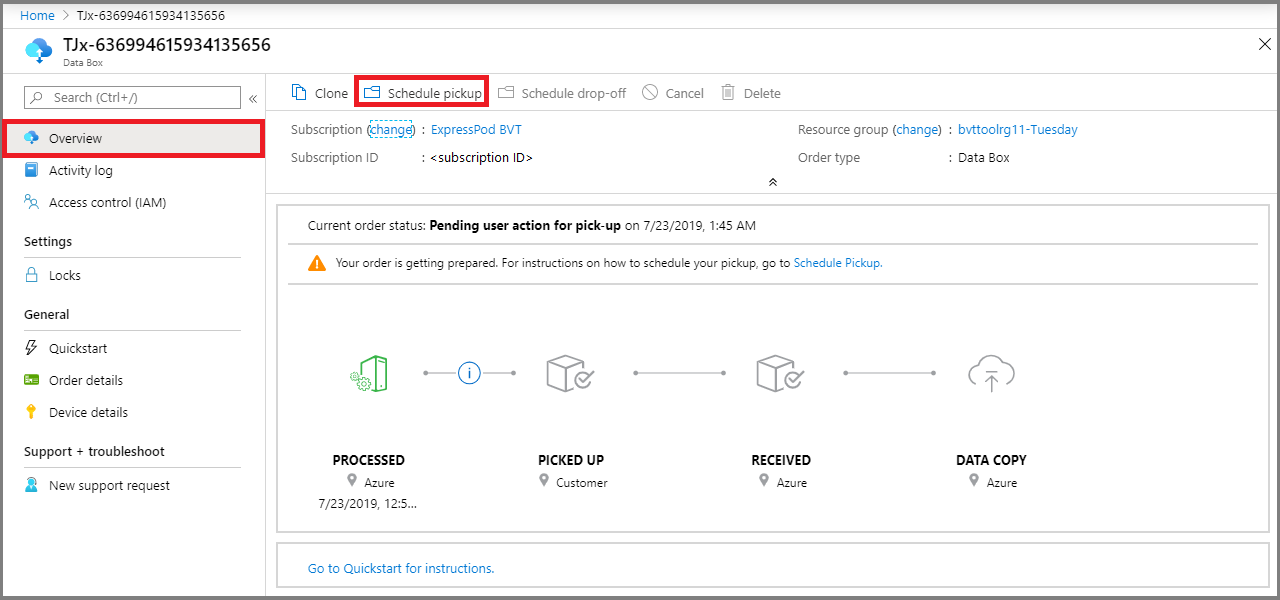
Once the device has been prepared and you receive an email notification for it, you can schedule a pickup.
In your Azure Data Box order, go to Overview and then select Schedule pickup.
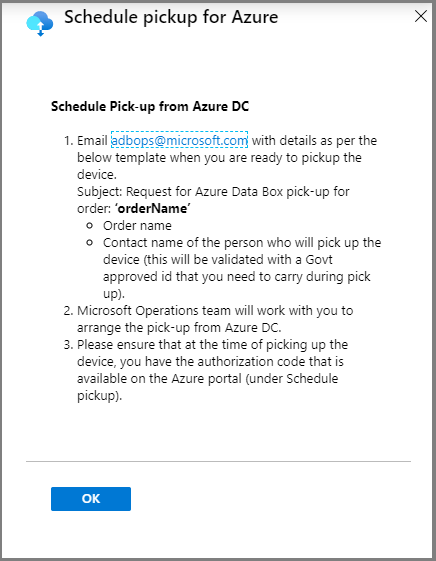
Follow the instructions in the Schedule pickup for Azure.
Before you can get your authorization code, you must email adbops@microsoft.com to schedule the device pickup from your region's datacenter.
After you schedule your device pickup, you can view your device authorization code in the Schedule pickup for Azure pane.
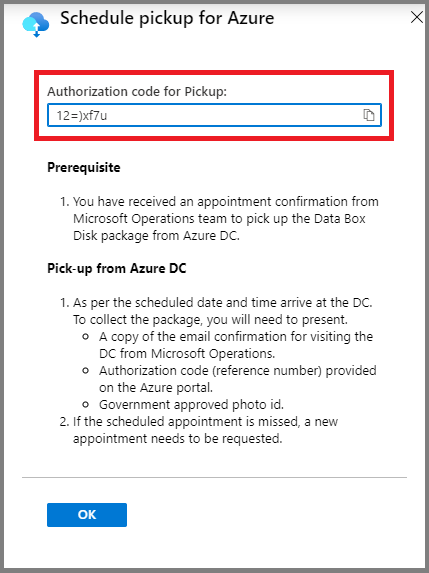
Make a note of this Authorization code. The person who picks up the device will need to provide it.
As per security requirements, at the time of scheduling pick-up, it's necessary to provide the name and details of the person who will be arriving for the pickup. You or the point of contact must carry a government-approved photo ID, which will be validated at the datacenter.
Pick up the Data Box from the datacenter at the scheduled time.
The person who is picking up the device needs to provide the following:
A copy of the email confirmation for visiting the datacenter from Azure Operations.
The authorization code. The reference number is unique for a pick-up or a drop-off and is validated at the datacenter.
Government-approved photo ID. The ID will be validated at the datacenter, and the name and details of the person picking up the device must be provided when the pickup is scheduled.
Note
If a scheduled appointment is missed, you'll need to schedule a new appointment.
Your order automatically moves to the Picked up state once the device has been picked up from the datacenter.
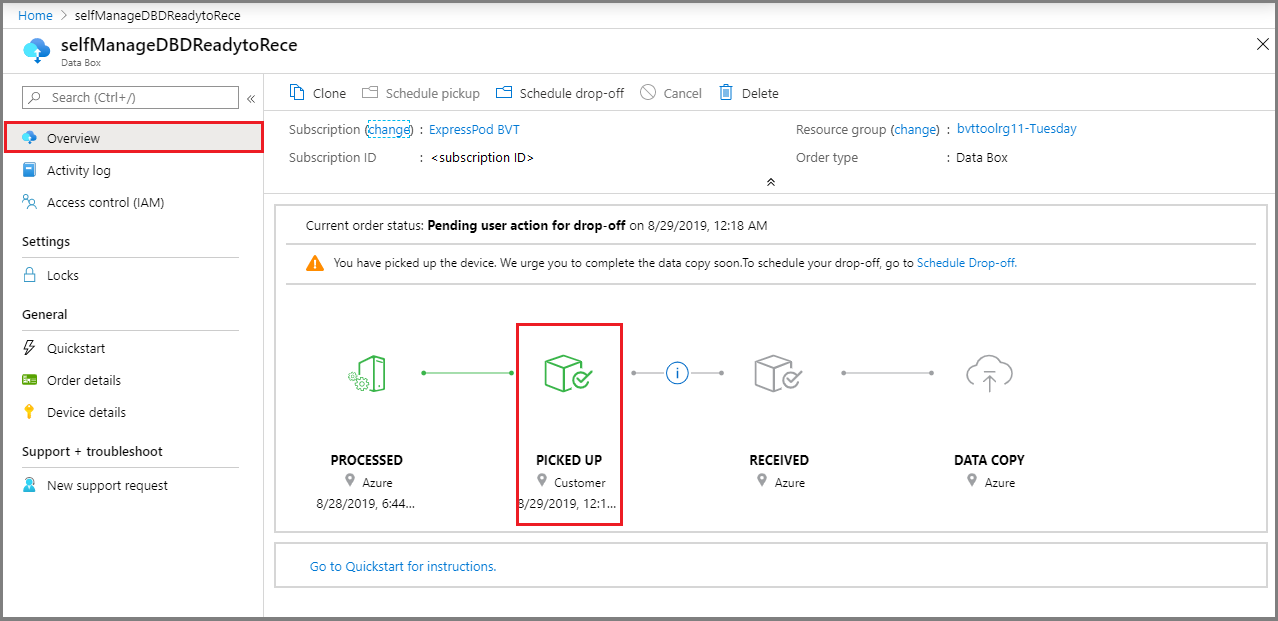
After the device is picked up, copy data to the Data Box at your site. After the data copy is complete, you can prepare to ship the Data Box. For more information, see Prepare to ship.
The Prepare to ship step needs to complete without any critical errors. Otherwise, you'll need to run this step again after making the necessary fixes. After the Prepare to ship step completes successfully, you can view the authorization code for the drop-off on the device local user interface.
Note
Do not share the authorization code over email. This is only to be verified at the datacenter during drop off.
If you've received an appointment for drop-off, the order should have Ready to receive at Azure datacenter status in the Azure portal. Follow the instructions under Schedule drop-off to return the device.
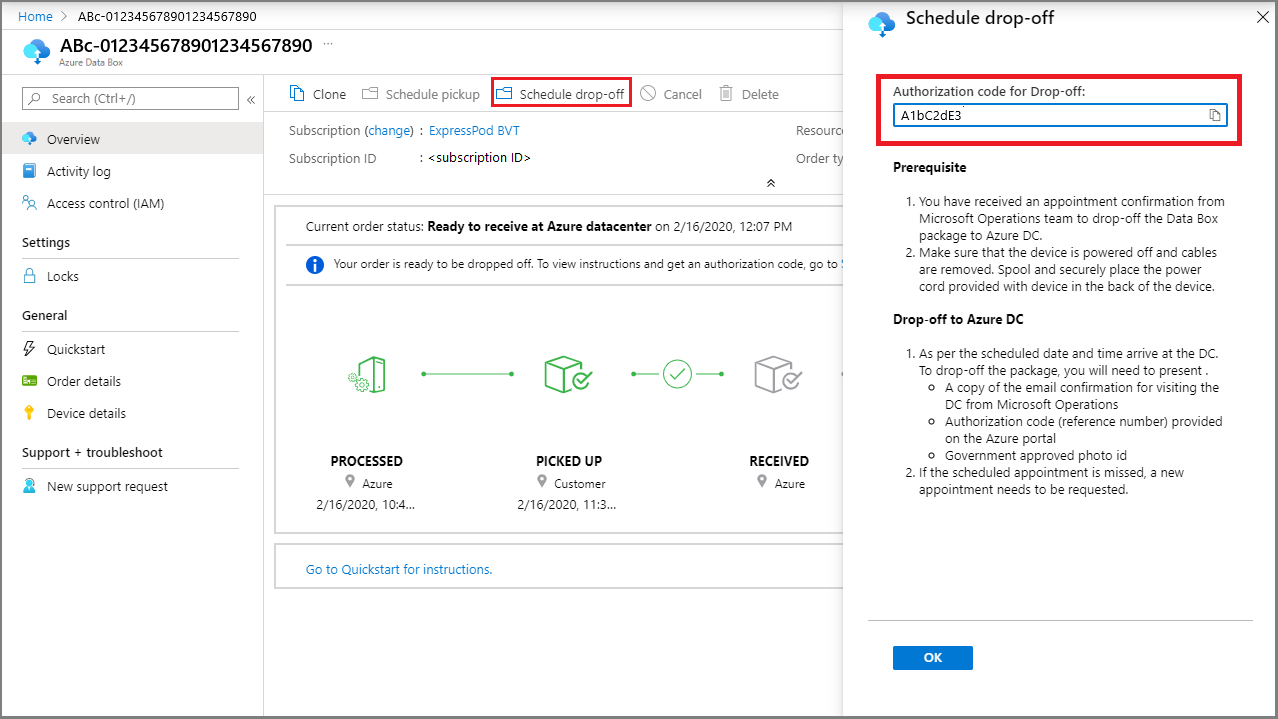
After your ID and authorization code are verified, and you have dropped off the device at the datacenter, the order status should be Received.
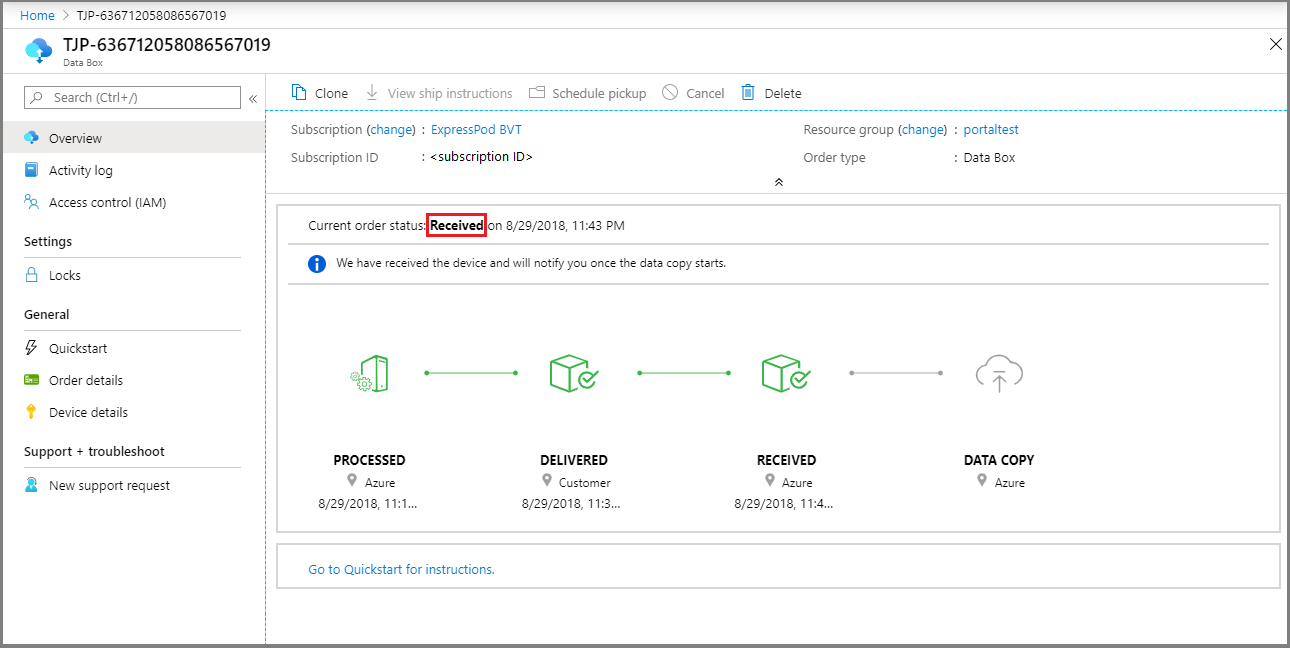
Once the device is received, the data copy will continue. When the copy finishes, the order is complete.