适用于:所有 API 管理层级
Azure API Management支持将Azure函数应用作为新 API 导入或将它们追加到现有 API。 该过程会在Azure函数应用中自动生成主机密钥,然后分配给 API 管理中的命名值。
本文介绍如何将Azure函数应用作为 API 导入到Azure API Management并测试 API。
在这篇文章中,你将学会如何:
- 将Azure函数应用作为 API 导入
- 将Azure函数应用追加到 API
- 查看新的函数应用主机密钥和 API 管理命名值
- 在 Azure 门户中测试 API
先决条件
- 创建 Azure API Management 实例。
- 请确保订阅中有Azure函数应用。 有关详细信息,请参阅 Azure Functions 入门。 该函数必须具有 HTTP 触发器。 授权级别必须设置为 匿名 或 函数。
注意
还可以使用适用于 Visual Studio Code 的 API 管理扩展导入和管理 API。 若要开始,请完成 API 管理扩展教程。
将Azure函数应用作为新 API 导入
若要从Azure函数应用创建新 API,请执行以下操作:
在Azure门户中导航到 API 管理服务。
在边栏菜单中,选择 API>API,然后选择“ + 添加 API”。
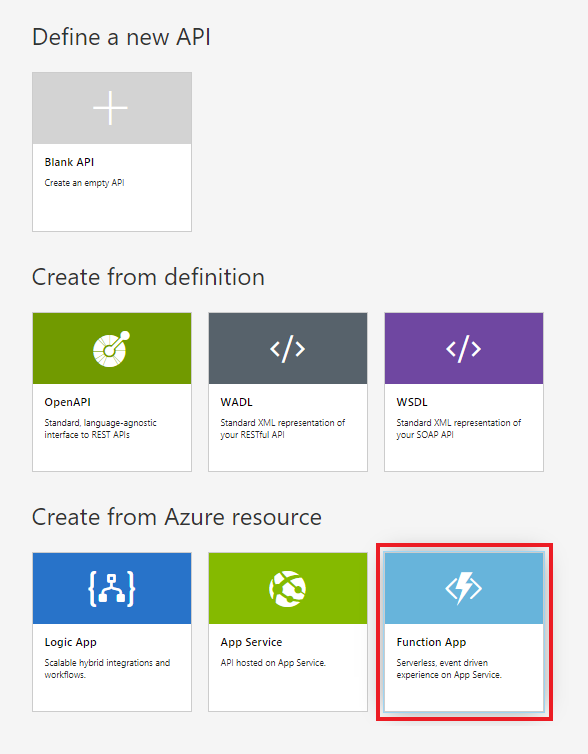
在 从 Azure 资源创建下,选择 Function App 磁贴:
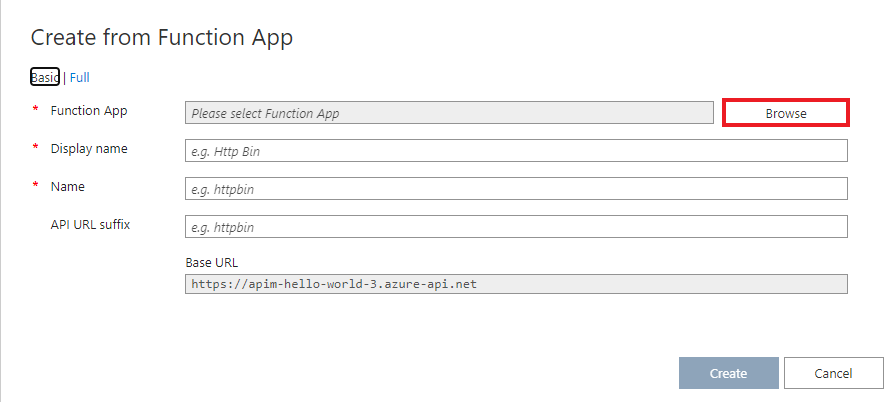
选择 “浏览 ”按钮:
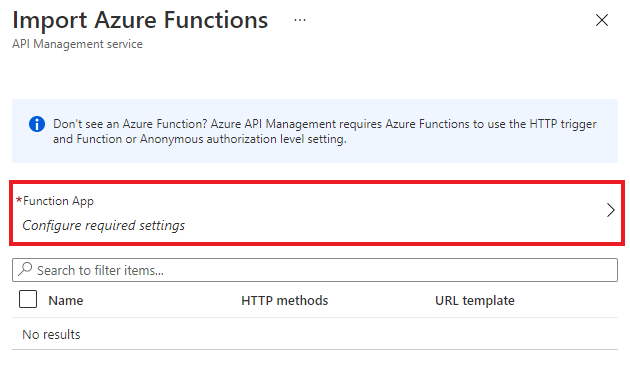
单击“配置所需设置”下的“选择”按钮,从可用函数应用列表中选择:
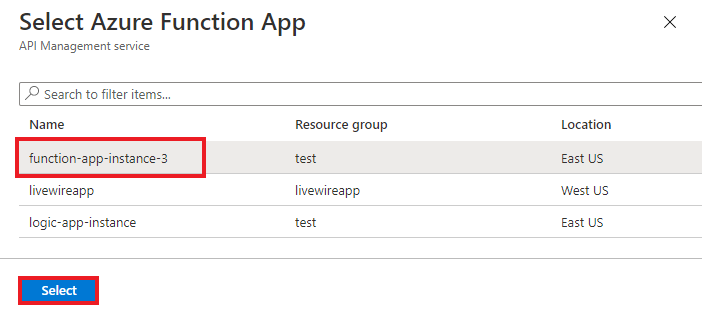
找到要从中导入函数的函数应用,将其选中,然后单击 “选择:
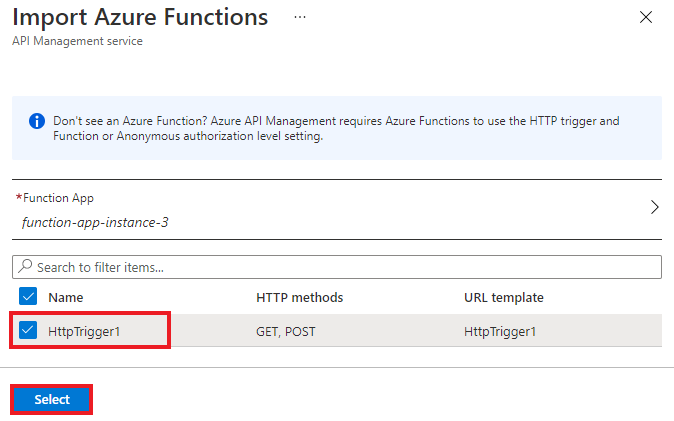
选择要导入的函数,然后单击 “选择”。 只能导入具有 HTTP 触发器和 匿名 或函数授权级别的 函数 。
切换到完整视图,并将产品分配给您的新 API。
注意
产品 是通过开发人员门户提供给开发人员的一个或多个 API 的关联。 首先,开发人员必须订阅产品才能访问 API。 订阅时,他们获取产品中任何 API 的订阅密钥。 如果创建了 API 管理实例,则你是管理员,并且默认订阅每个产品。
在某些定价层中,API 管理实例附带两个默认示例产品:
- 入门
- 不受限制
根据需要指定其他设置。 以后还可以通过 “设置” 选项卡指定设置。导入 和发布第一个 API 教程中介绍了这些设置。
选择 创建。


将函数应用追加到现有 API
将函数应用追加到现有 API:
在 Azure API Management 服务实例中,选择边栏菜单中的 APIs>APIs。
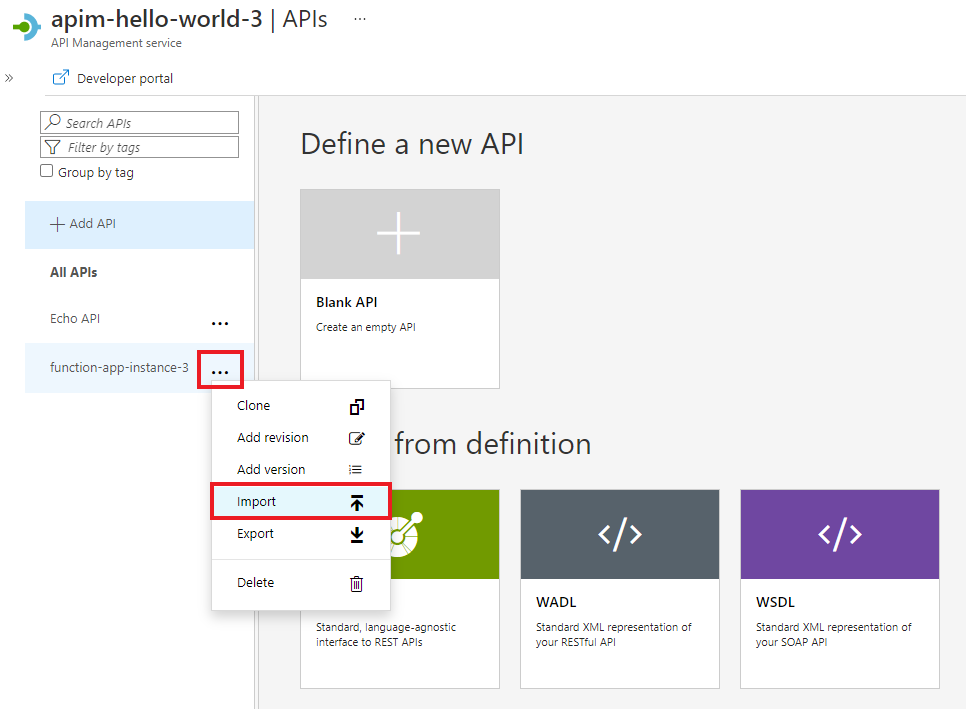
选择要将函数应用导入到的 API。 选择 API 旁边的省略号(...),然后选择 “导入:
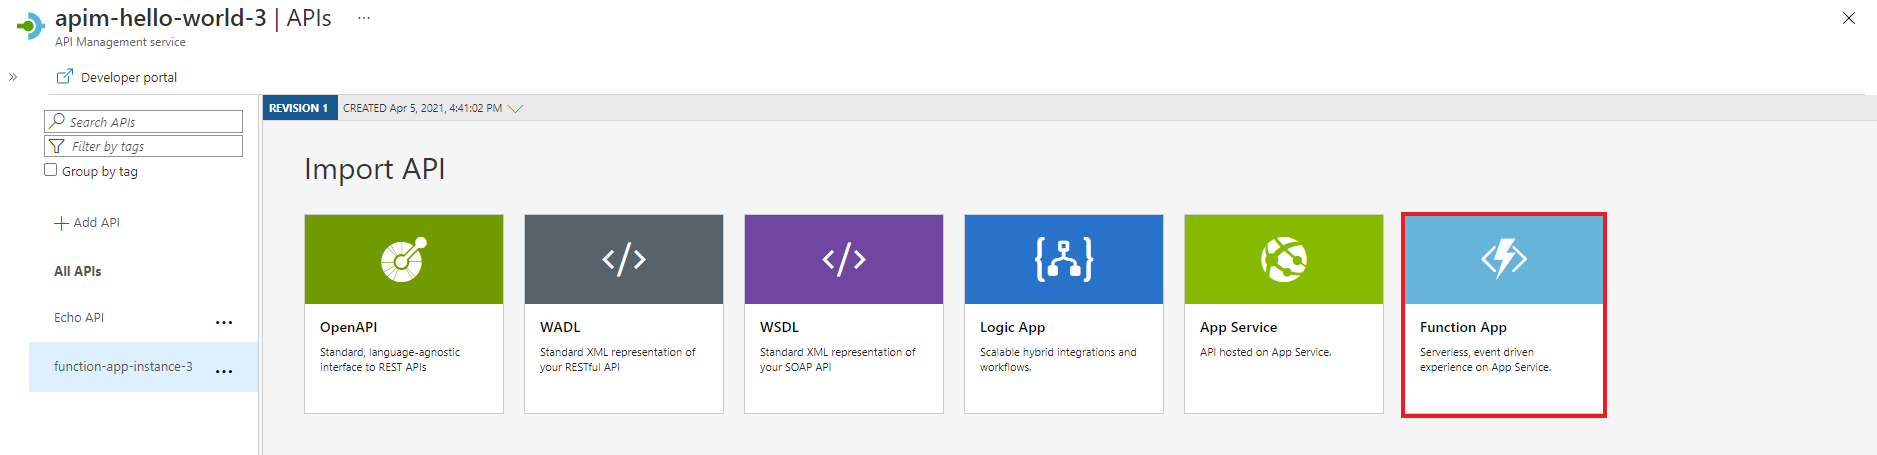
选择 Function App 图块
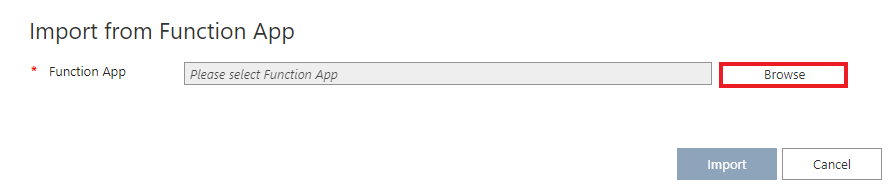
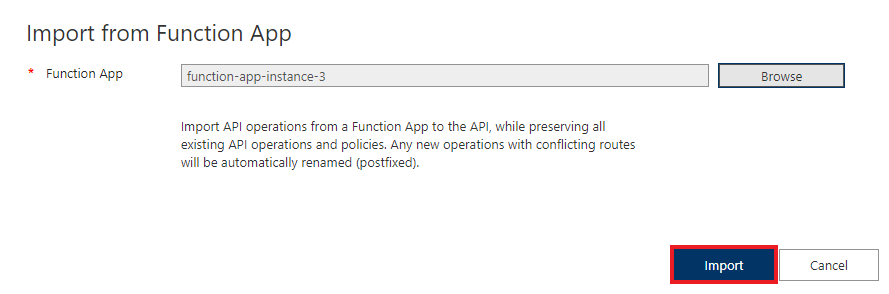
在 “从函数应用导入”窗口中,选择“浏览”:
单击“配置所需设置”下的“选择”按钮,从可用函数应用列表中选择:
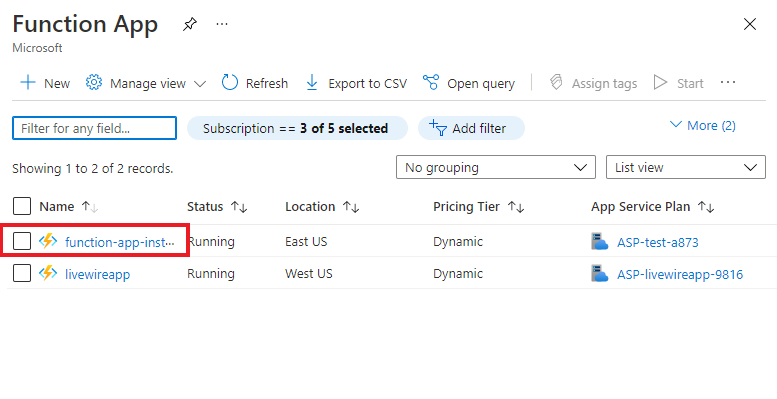
找到要从中导入函数的函数应用,将其选中,然后单击 “选择:
选择要导入的函数,然后单击 “选择:
选择 “导入”:


授权
导入Azure函数应用时,会自动生成以下项:
- 函数应用中的主机密钥。 密钥命名
apim-<your API Management service instance name>。 - API 管理实例中具有名称
<your Azure function app instance name>-key的命名值。 此值包含主机密钥。
对于在 2019 年 4 月 4 日之后创建的 API,主机密钥在 HTTP 请求中从 API 管理传递到标头中的函数应用。 较旧的 API 将主机密钥作为查询参数传递。 可以通过对与函数应用关联的实体使用 PATCH BackendREST API 调用Backend来更改此行为。
警告
删除或更改Azure函数应用主机密钥值或 API 管理命名值会禁用服务之间的通信。 这些值不会自动同步。
如果需要轮换主机密钥,请务必在 API 管理中更改命名值。
访问函数应用主机密钥
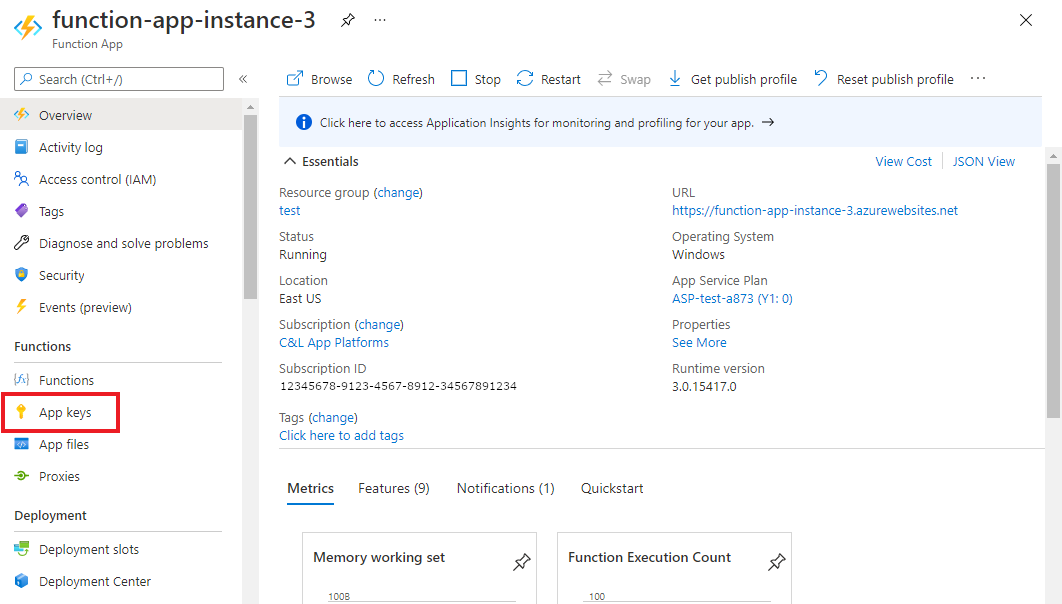
导航到您的 Azure 函数应用实例:
在边栏菜单的 “函数 ”部分中,选择 “应用”键。 在 “主机密钥 ”部分中查找密钥:


访问 API 管理中的命名值
导航到 API 管理实例,然后在边栏菜单中选择 API>命名值 。 Azure函数应用密钥存储在该处。

在 Azure 门户中测试新 API
可以直接从Azure门户调用操作。 使用 Azure 门户是查看和测试 API 操作的简便方法。

选择在上一部分创建的 API。
选择“测试”选项卡。
选择要测试的操作。
- 该页面显示用于查询参数和标头的字段。
- 其中一个标头是
Ocp-Apim-Subscription-Key。 此标头适用于与 API 关联的产品订阅密钥。 - 如果创建了 API 管理实例,则你是管理员,因此会自动填充密钥。
选择“发送”。
测试成功后,后端将响应 200 OK 和某些数据。