重要
你是否正在寻找一种数据库解决方案,以应对需要高扩展性、99.999% 可用性服务级别协议(SLA)、即时自动扩展和跨多个区域的自动故障转移的场景? 请考虑使用 Azure Cosmos DB for NoSQL。
在本快速入门中,你将使用 Azure SDK for Java 部署基本的 Azure Cosmos DB for Table 应用程序。 Azure Cosmos DB for Table 是一种无架构数据存储,允许应用程序在云中存储结构化表数据。 你将了解如何使用 Azure SDK for Java 在 Azure Cosmos DB 资源中创建表、行并执行基本任务。
API 参考文档 | 库源代码 | 包 (Maven) | Azure Developer CLI
先决条件
- Azure Developer CLI
- Docker Desktop
- Java 21
如果你没有 Azure 帐户,请在开始之前创建一个试用帐户。
初始化项目
使用 Azure Developer CLI (azd) 创建 Azure Cosmos DB for Table 帐户并部署容器化示例应用程序。 示例应用程序使用客户端库来管理、创建、读取和查询示例数据。
在空目录中打开终端。
如果尚未经过身份验证,请使用
azd auth login向 Azure Developer CLI 进行身份验证。 按照该工具指定的步骤,使用首选 Azure 凭据向 CLI 进行身份验证。azd auth login使用
azd init来初始化项目。azd init --template cosmos-db-table-java-quickstart在初始化期间,配置唯一的环境名称。
使用
azd up部署 Azure Cosmos DB 帐户。 Bicep 模板还部署示例 Web 应用程序。azd up在预配过程中,选择订阅、所需位置和目标资源组。 等待预配过程完成。 此过程可能需要大约 5 分钟。
预配 Azure 资源后,输出中将包含指向正在运行的 Web 应用程序的 URL。
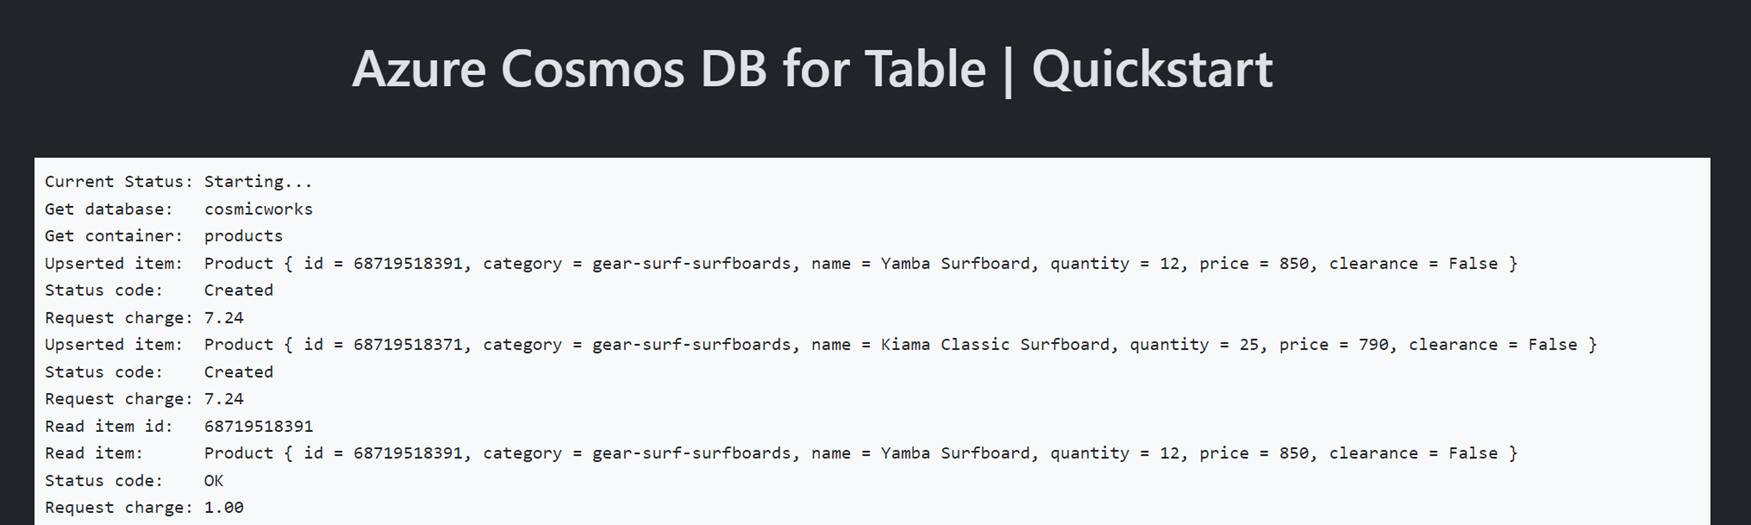
Deploying services (azd deploy)

  (✓) Done: Deploying service web
- Endpoint: <https://[container-app-sub-domain].azurecontainerapps.io>

SUCCESS: Your application was provisioned and deployed to Azure in 5 minutes 0 seconds.
使用控制台中的 URL 在浏览器中导航到 Web 应用程序。 观察正在运行的应用的输出。
安装客户端库
客户端库可以通过 Maven 作为 azure-data-tables 包提供。
导航到
/src/web文件夹并打开“pom.xml”文件。cd ./src如果它尚不存在,请为
azure-data-tables包添加一个条目。<dependency> <groupId>com.azure</groupId> <artifactId>azure-data-tables</artifactId> </dependency>
导入库文件
将所有必需的命名空间导入你的应用程序代码。
import com.azure.core.http.rest.PagedFlux;
import com.azure.data.tables.TableAsyncClient;
import com.azure.data.tables.TableClientBuilder;
import com.azure.data.tables.models.ListEntitiesOptions;
import com.azure.data.tables.models.TableEntity;
import com.azure.identity.DefaultAzureCredential;
import com.azure.identity.DefaultAzureCredentialBuilder;
对象模型
| 名称 | DESCRIPTION |
|---|---|
TableServiceAsyncClient |
此类型是主要客户端类型,用于管理帐户范围的元数据或数据库。 |
TableAsyncClient |
此类型表示帐户中表的客户端。 |
代码示例
模板中的示例代码使用名为 cosmicworks-products 的表。
cosmicworks-products 表包含每个产品的详细信息,例如名称、类别、数量、价格、唯一标识符和销售标志。 容器使用唯一标识符*作为行键,使用类别作为分区键。
对客户端进行身份验证
此示例创建 TableServiceAsyncClient 类的新实例。
DefaultAzureCredential azureTokenCredential = new DefaultAzureCredentialBuilder()
    .build();

TableServiceAsyncClient client = new TableServiceClientBuilder()
    .endpoint("<azure-cosmos-db-table-account-endpoint>")
    .credential(credential)
    .buildAsyncClient();
获取表
此示例使用 TableAsyncClient 类的 GetTableClient 方法创建 TableServiceClient 类的实例。
TableAsyncClient table = client
    .getTableClient("<azure-cosmos-db-table-name>");
创建实体
在表中创建新实体的最简单方法是使用 createEntity。
String rowKey = "aaaaaaaa-0000-1111-2222-bbbbbbbbbbbb";
String partitionKey = "gear-surf-surfboards";

TableEntity entity = new TableEntity(partitionKey, rowKey)
        .addProperty("Name", "Yamba Surfboard")
        .addProperty("Quantity", 12)
        .addProperty("Price", 850.00)
        .addProperty("Sale", false);
使用 upsertEntity 在集合中创建实体。
Mono<Void> response = table.upsertEntity(entity);
获取实体
可使用 getEntity 从表中检索特定实体。
String rowKey = "aaaaaaaa-0000-1111-2222-bbbbbbbbbbbb";
String partitionKey = "gear-surf-surfboards";

TableEntity entity = table.getEntity(partitionKey, rowKey);
查询实体
插入实体后,还可以使用 listEntities 和 ListEntitiesOptions 类运行查询以获取与特定筛选器匹配的所有实体。 使用 setFilter 方法指定字符串 OData 筛选器。
ListEntitiesOptions options = new ListEntitiesOptions()
    .setFilter("PartitionKey eq 'gear-surf-surfboards'");

PagedFlux<TableEntity> tableEntities = table.listEntities(options, null, null);
使用订阅分析查询的分页结果。
tableEntities
    .DoOnNext(entity -> {
        // Do something
    });
清理资源
不再需要示例应用程序或资源时,请删除相应的部署和所有资源。
azd down