Note
Access to this page requires authorization. You can try signing in or changing directories.
Access to this page requires authorization. You can try changing directories.
In this quickstart, you'll create a feature flag in Azure App Configuration and use it to dynamically control the availability of a new web page in an Aspire app without restarting or redeploying it.
The feature management support extends the dynamic configuration feature in App Configuration. The example in this quickstart builds on the Aspire app introduced in the dynamic configuration tutorial. Before you continue, finish the quickstart, and the tutorial to create an Aspire app with dynamic configuration first.
Prerequisites
Follow the documents to create an Aspire solution with dynamic configuration.
- Quickstart: Create an Aspire solution with App Configuration
- Tutorial: Use dynamic configuration in an Aspire app
Create a feature flag
Add a feature flag called Beta to the App Configuration store (created in the Prerequisites steps), and leave Label and Description with their default values. For more information about how to add feature flags to a store using the Azure portal or the CLI, go to Create a feature flag.

Add the following key-value through the App Configuration emulator UI.
| Key | Content Type | Value |
|---|---|---|
| .appconfig.featureflag/Beta | application/vnd.microsoft.appconfig.ff+json;charset=utf-8 | {"id":"Beta","enabled":false} |

Feature flags are special key-values that define Microsoft feature flags. Configuration providers identify feature flag by their specific content type and key prefix. The value of a feature flag is a json object that follows Microsoft Feature Flag schema.
- Feature flag content type:
application/vnd.microsoft.appconfig.ff+json;charset=utf-8 - Feature flag key prefix:
.appconfig.featureflag/
Use a feature flag
Navigate into the
Webproject's directory (created in the Prerequisites steps). Run the following command to add theMicrosoft.FeatureManagement.AspNetCoreNuget package.dotnet add package Microsoft.FeatureManagement.AspNetCoreOpen Program.cs, and add a call to the
UseFeatureFlagsmethod inside theAddAzureAppConfigurationcall. You can connect to App Configuration using either Microsoft Entra ID (recommended) or a connection string. The following code snippet demonstrates using Microsoft Entra ID.builder.AddAzureAppConfiguration( "appconfiguration", configureOptions: options => { // Load all keys that start with `TestApp:` and have no label. options.Select("TestApp:*", LabelFilter.Null); // Reload configuration if any key-values have changed. options.ConfigureRefresh(refreshOptions => refreshOptions.RegisterAll()); // Load all feature flags with no label options.UseFeatureFlags(); });Tip
When no parameter is passed to the
UseFeatureFlagsmethod, it loads all feature flags with no label in your App Configuration store. The default refresh interval of feature flags is 30 seconds. You can customize this behavior via theFeatureFlagOptionsparameter. For example, the following code snippet loads only feature flags that start with TestApp: in their key name and have the label dev. The code also changes the refresh interval time to 5 minutes. Note that this refresh interval time is separate from that for regular key-values.options.UseFeatureFlags(featureFlagOptions => { featureFlagOptions.Select("TestApp:*", "dev"); featureFlagOptions.CacheExpirationInterval = TimeSpan.FromMinutes(5); });Add feature management to the service collection of your app by calling
AddFeatureManagement.Update Program.cs with the following code.
// Existing code in Program.cs
// ... ...

// Add Azure App Configuration middleware to the container of services.
builder.Services.AddAzureAppConfiguration();

// Add feature management to the container of services.
builder.Services.AddFeatureManagement();

var app = builder.Build();

// The rest of existing code in program.cs
// ... ...
Add
using Microsoft.FeatureManagement;at the top of the file if it's not present.Add a new Razor page named Beta.razor under the Components/Pages directory.
@page "/beta"

@inject IFeatureManager FeatureManager

@if (isBetaEnabled)
{
    <h1>This is the beta website.</h1>
}
else
{
    <h1>Not found.</h1>
}

@code {
    private bool isBetaEnabled;

    protected override async Task OnInitializedAsync()
    {
        isBetaEnabled = await FeatureManager.IsEnabledAsync("Beta");
    }
}
Open _Imports.razor, and import the feature management namespace.
@using Microsoft.FeatureManagementOpen NavMenu.razor in the Components/Layout directory.
Inject
IVariantFeatureManagerat the top of the file.@inject IVariantFeatureManager FeatureManager <div class="top-row ps-3 navbar navbar-dark"> <div class="container-fluid"> <a class="navbar-brand" href="">AspireApp</a> </div> </div>Add the following code.
// Existing code
// ... ...
<div class="nav-scrollable" onclick="document.querySelector('.navbar-toggler').click()">
    <nav class="nav flex-column">
        // Existing code
        // ... ...

        @if (isBetaEnabled)
        {
            <div class="nav-item px-3">
                <NavLink class="nav-link" href="beta">
                    <span class="bi bi-list-nested" aria-hidden="true"></span> Beta
                </NavLink>
            </div>
        }
    </nav>
</div>

@code {
    private bool isBetaEnabled;

    protected override async Task OnInitializedAsync()
    {
        isBetaEnabled = await FeatureManager.IsEnabledAsync("Beta");
    }
}
Run the app locally
Run the
AppHostproject. Go to the Aspire dashboard and open the web app.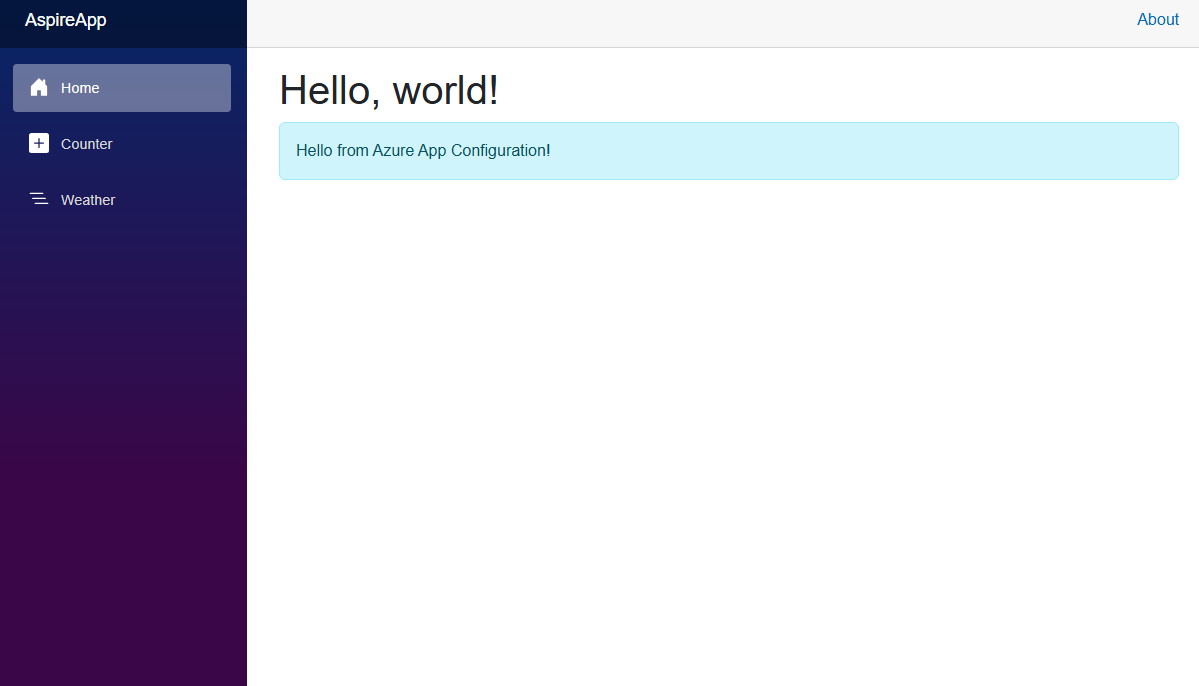
In the Azure portal, navigate to the Feature manager of your App Configuration store and locate the Beta feature flag. Enable the flag by selecting the checkbox under Enabled.
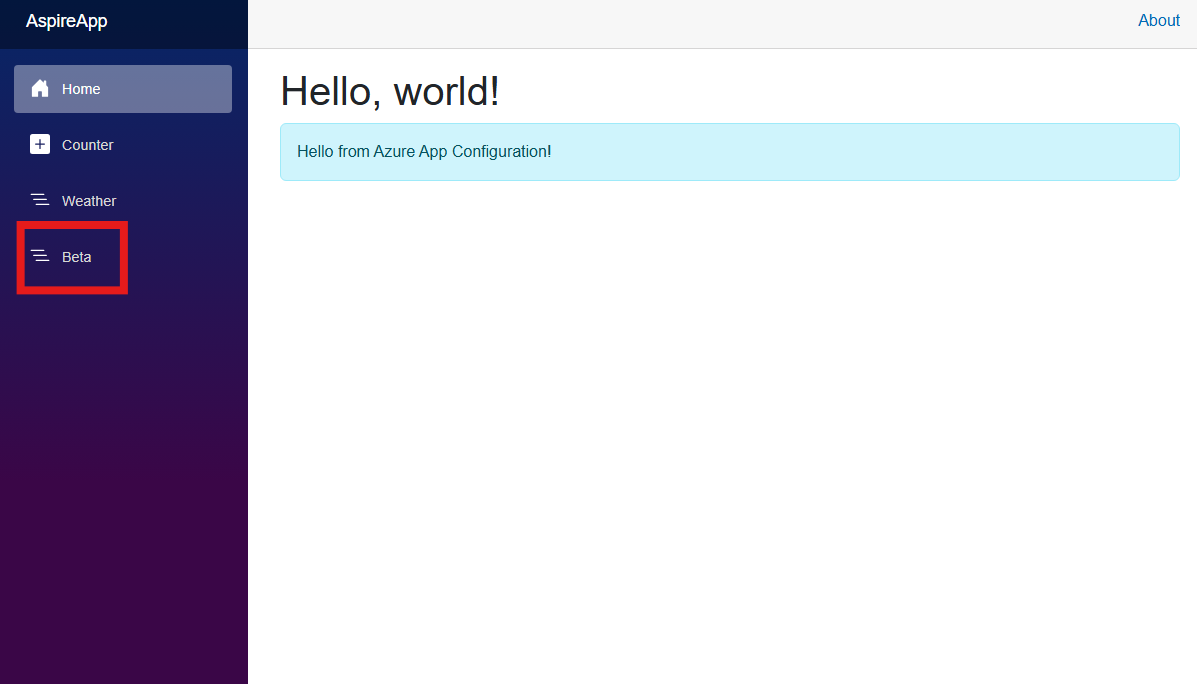
Refresh the page a few times. When the refresh interval time window passes, the page will show with updated content.
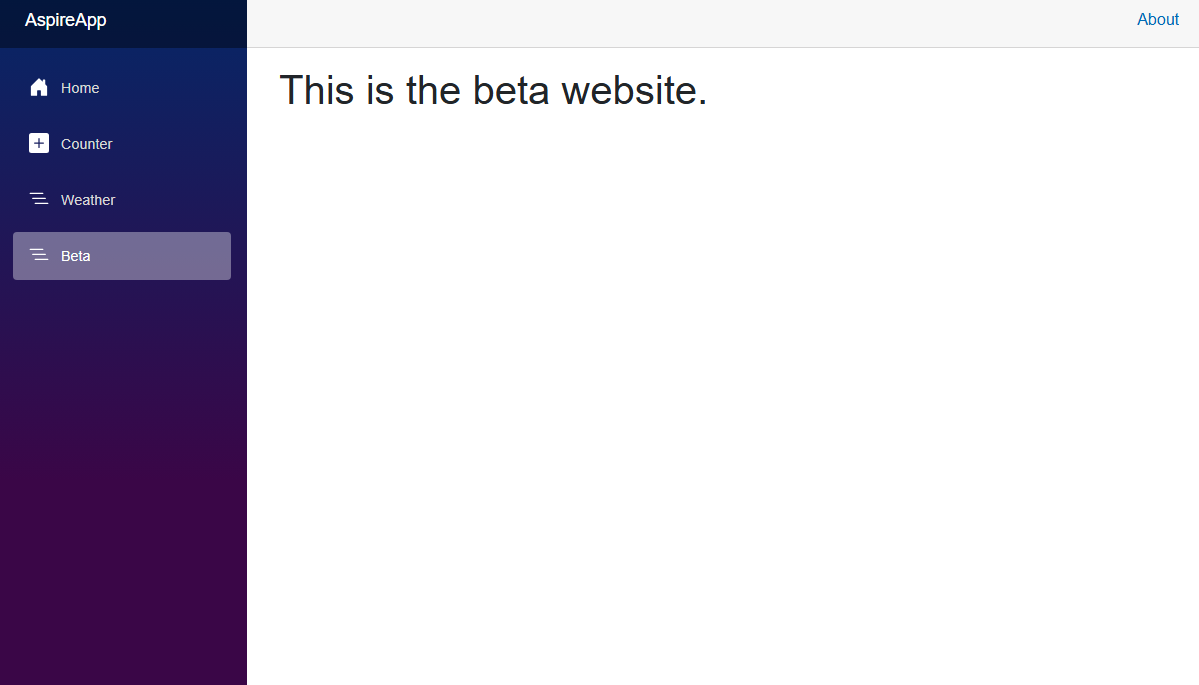
Click the Beta button. It will bring you to the beta page that you enabled dynamically.


Run the app locally
Run the
AppHostproject. Go to the Aspire dashboard and open the web app.
Go to the emulator, edit the value of the feature flag to enable it.
Key Value appconfig.featureflag/Beta {"id":"Beta","enabled":true} Refresh the page a few times. When the refresh interval time window passes, the page will show with updated content.
Click the Beta button. It will bring you to the beta page that you enabled dynamically.

Next steps
In this quickstart, you added feature management capability to an Aspire app on top of dynamic configuration. The Microsoft.FeatureManagement.AspNetCore library offers integration with ASP.NET Core apps, including feature management in MVC controller actions, razor pages, views, routes, and middleware. For the full feature rundown of the .NET feature management library, continue to the following document.
While a feature flag allows you to activate or deactivate functionality in your app, you may want to customize a feature flag based on your app's logic. Feature filters allow you to enable a feature flag conditionally. For more information, continue to the following tutorial.
Azure App Configuration offers built-in feature filters that enable you to activate a feature flag only during a specific period or to a particular targeted audience of your app. For more information, continue to the following tutorial.
To enable feature management capability for other types of apps, continue to the following tutorials.
To learn more about managing feature flags in Azure App Configuration, continue to the following tutorial.