Note
Access to this page requires authorization. You can try signing in or changing directories.
Access to this page requires authorization. You can try changing directories.
Return Data Box and verify data upload to Azure
This tutorial describes how to return Azure Data Box and verify the data uploaded to Azure.
In this tutorial, you will learn about topics such as:
- Prerequisites
- Ship Data Box to Azure
- Verify data upload to Azure
- Erasure of data from Data Box
Prerequisites
Before you begin, make sure:
- You've completed the Tutorial: Prepare to ship Azure Data Box.
- The data copy to the device completed and the Prepare to ship run was successful.
Ship Data Box back
Based on the region where you're shipping the device, the procedure is different. In many countries/regions, you can use Azure managed shipping or self-managed shipping.
If using Azure managed shipping, follow these steps.
Self-managed shipping
Self-managed shipping is available as an option when you Order Azure Data Box. For detailed steps, see Use self-managed shipping.
Self-managed shipping is only available in the following regions:
| Region | Region | Region |
|---|---|---|
| China East 2 | China North 2 | China North 3 |
If you selected self-managed shipping when you created your order, follow these instructions.
Write down the Authorization code that's shown on the Prepare to Ship page of the local web UI for the Data Box after the step completes successfully.
Power off the device and remove the cables. Spool and securely place the power cord that was provided with the device at the back of the device.
When you're ready to return the device, send an email to the Azure Data Box Operations team using the template below.
To: adbops@microsoft.com
Subject: Request for Azure Data Box drop-off for order: 'orderName'
Body:
    1. Order name
    2. Authorization code available after Prepare to Ship has completed [Yes/No]
    3. Contact name of the person dropping off. You will need to display a government-approved ID during the drop off.
Verify data has been uploaded to Azure
When the Data Box device is connected to the Azure datacenter network, the data upload to Azure starts automatically.
Azure Data Box service notifies you that the data copy is complete via the Azure portal.
- Check error logs for any failures and take appropriate actions.
- Verify that your data is in the storage account(s) before you delete it from the source.
Data erasure from Data Box
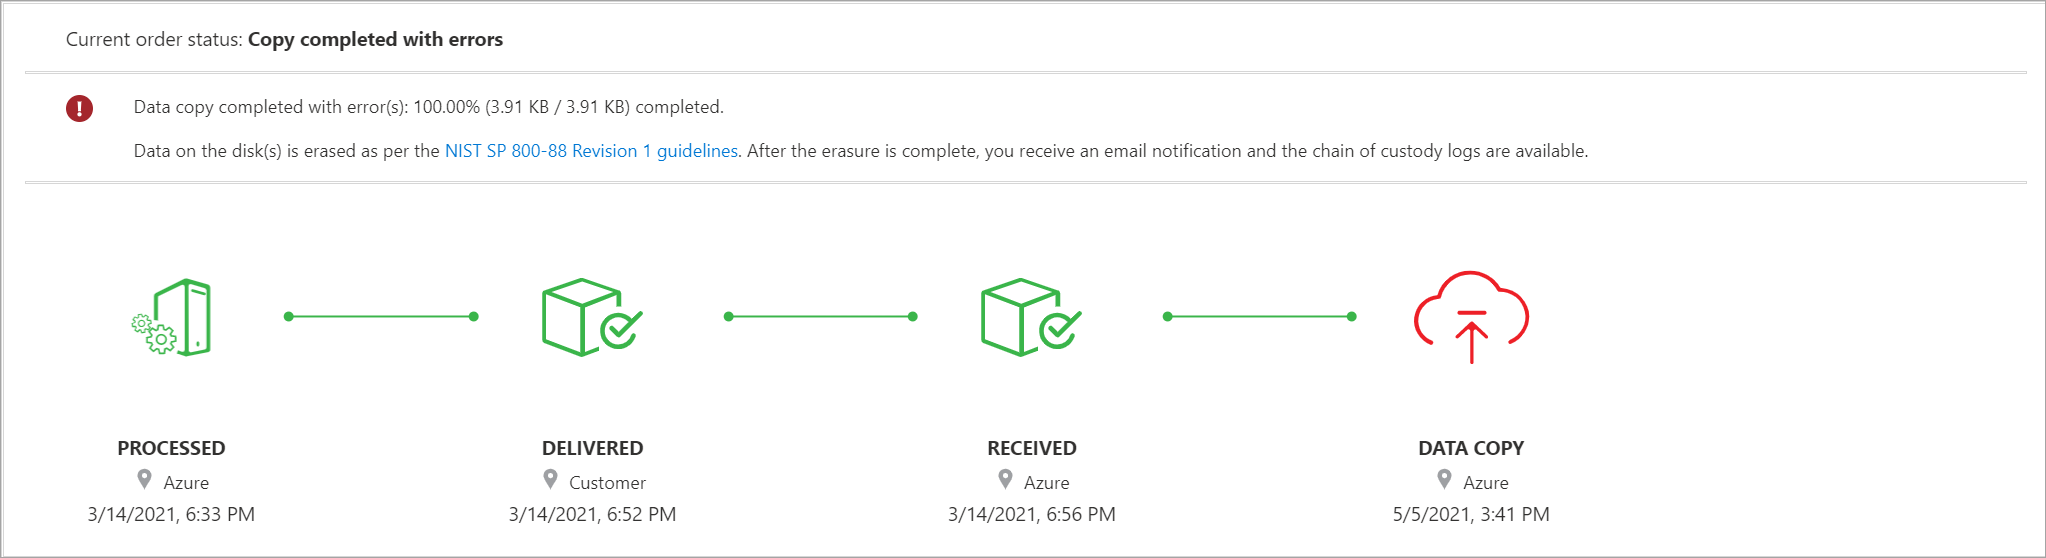
Once the upload to Azure is complete, the Data Box erases the data on its disks as per the NIST SP 800-88 Revision 1 guidelines.
Verify data has uploaded to Azure
When Azure receives and scans the device, order status is updated to Received. The device then undergoes physical verification for damage or signs of tampering.
After the verification is complete, the Data Box is connected to the network in the Azure datacenter. The data copy starts automatically. Depending upon the data size, the copy operation can take between a few hours to a few days to complete. You can monitor the copy job progress in the portal.
Review copy errors from upload
When files fail to upload due to a nonretryable error, you're notified to review the errors before proceeding. The errors are listed in the data copy log.
You can't fix these errors. The upload has completed with errors. The notification lets you know about any configuration issues you need to fix before you try another upload via network transfer or a new import order. For guidance, see Review copy errors in uploads from Azure Data Box and Azure Data Box Heavy devices.
When you confirm that you've reviewed the errors and are ready to proceed, the data will be secure erased from the device. The order is completed automatically after 14 days. By acting on the notification, you can move things along more quickly.
To review non-retryable errors and proceed with your order, do the following:
Open your order in the Azure portal.
If any non-retryable errors prevented files from uploading, you'll see the following notification. The current order status will be Data copy completed with errors. Device pending data erasure.
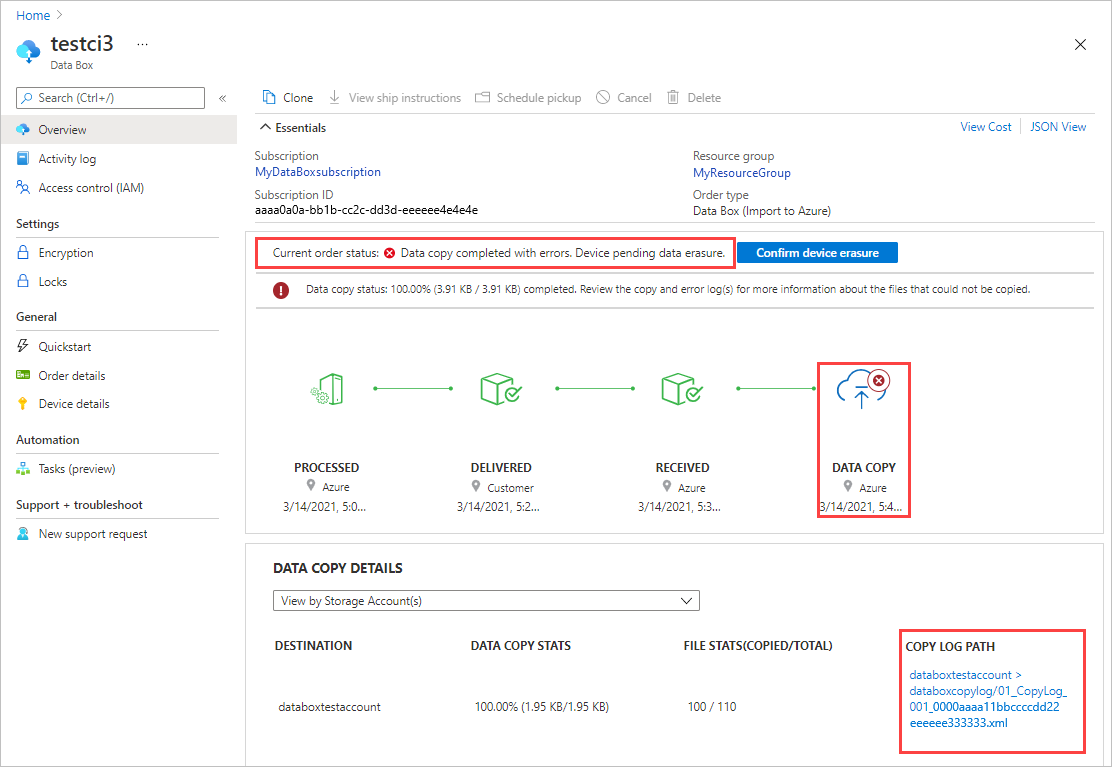
Make a note of the COPY LOG PATH in DATA COPY DETAILS. You'll review the errors in the data copy log.
Note
If firewall rules are set on the storage account for your Data Box, you might not be able to access copy logs from the Azure portal by using COPY LOG PATH on the Overview pane. To access the logs, either modify the storage firewall settings to allow the current system, or use a system which is in the firewall network.
Select Confirm device erasure to open a review panel.
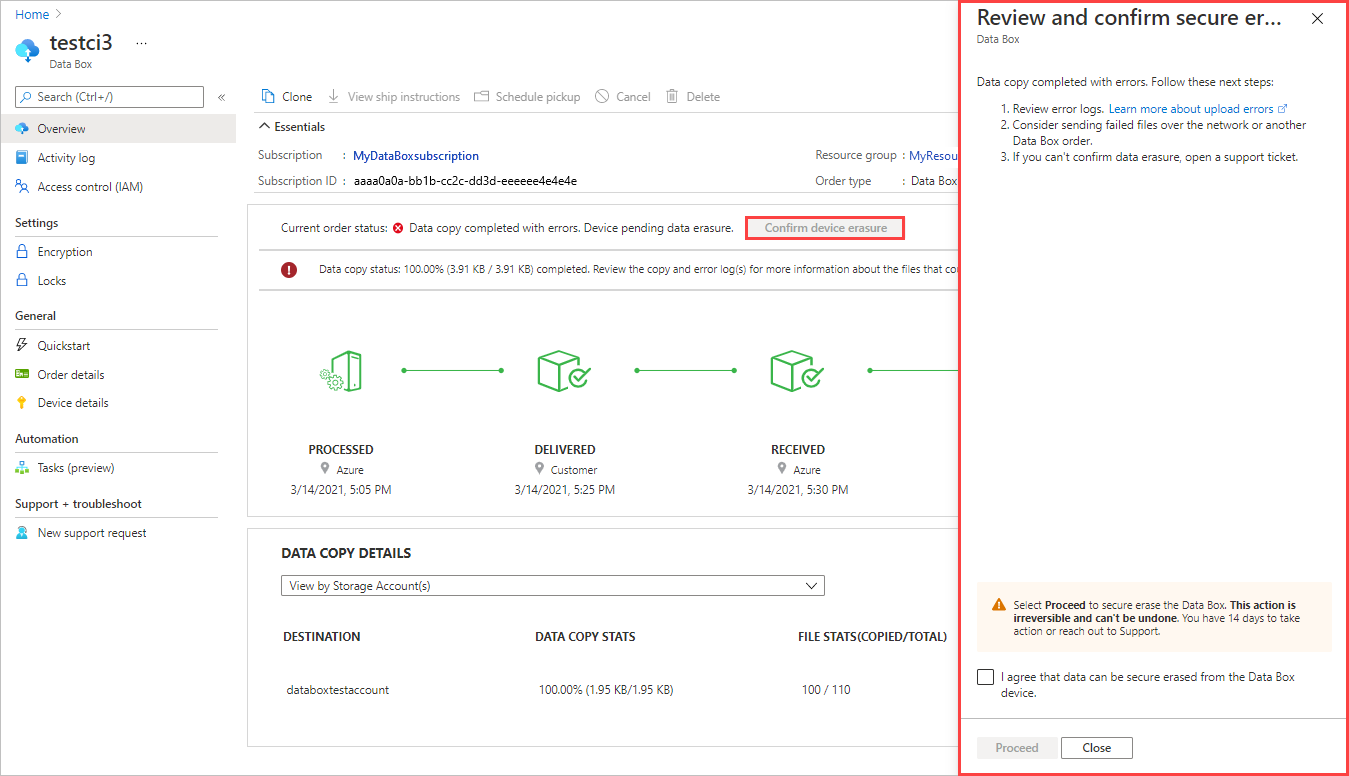
Review the errors in the data copy log using the copy log path that you made a note of earlier. If you need to, you can select Close to display the path again.
You'll need to fix any configuration issues before you try another upload via a network transfer or a new import order.
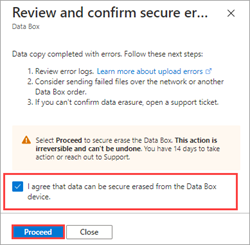
After you review the errors, select the check box to acknowledge that you're ready to proceed with data erasure. Then select Proceed.
After the data is secure erased from the device, the order status is updated to Copy completed with errors.
If you don't take any action, the order completes automatically after 14 days.
Verify data in completed upload
Once the data upload is complete, order status updates to Completed.
Note
A Cyclic Redundancy Check (CRC) computation is completed during the upload to Azure. The CRCs from the data copy and data upload are compared. A CRC mismatch indicates that the corresponding files failed to upload.
You can use the CRC checksum tool script to compare the checksums of the on-premises source data with the data uploaded to Azure. The script can be downloaded from Azure Samples. See the README file for more information.
Verify that your data is uploaded to Azure before you delete it from the source. Your data can be in:
Your Azure Storage account(s). When you copy the data to Data Box, the data is uploaded to one of the following paths in your Azure Storage account:
For block blobs and page blobs:
https://<storage_account_name>.blob.core.chinacloudapi.cn/<containername>/files/a.txtFor Azure Files:
https://<storage_account_name>.file.core.chinacloudapi.cn/<sharename>/files/a.txtAlternatively, you could go to your Azure storage account in Azure portal and navigate from there.
Your managed disk resource group(s). When creating managed disks, the VHDs are uploaded as page blobs and then converted to managed disks. The managed disks are attached to the resource groups specified at the time of order creation.
If your copy to managed disks in Azure was successful, you can go to the Order details in the Azure portal and make a note of the resource groups specified for managed disks.
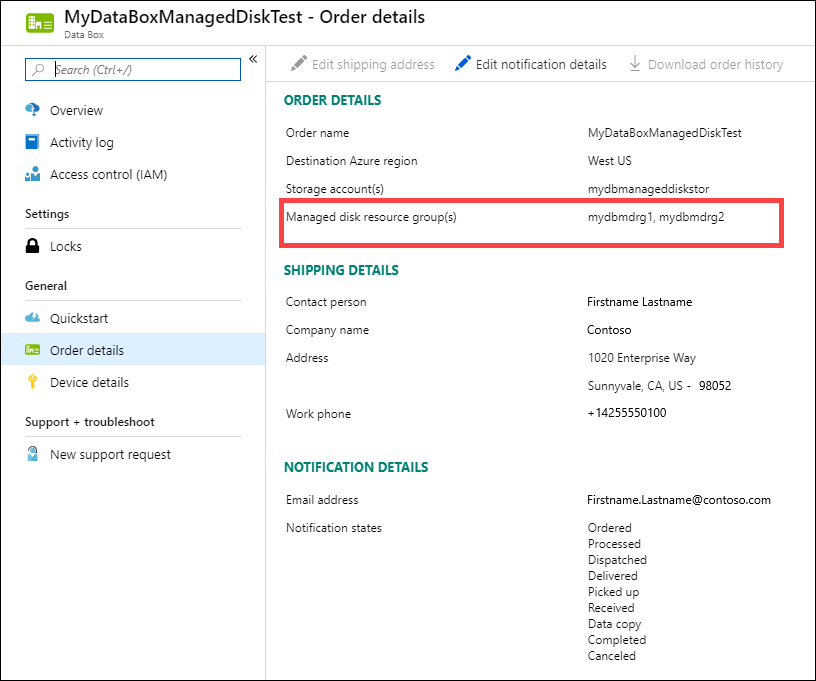
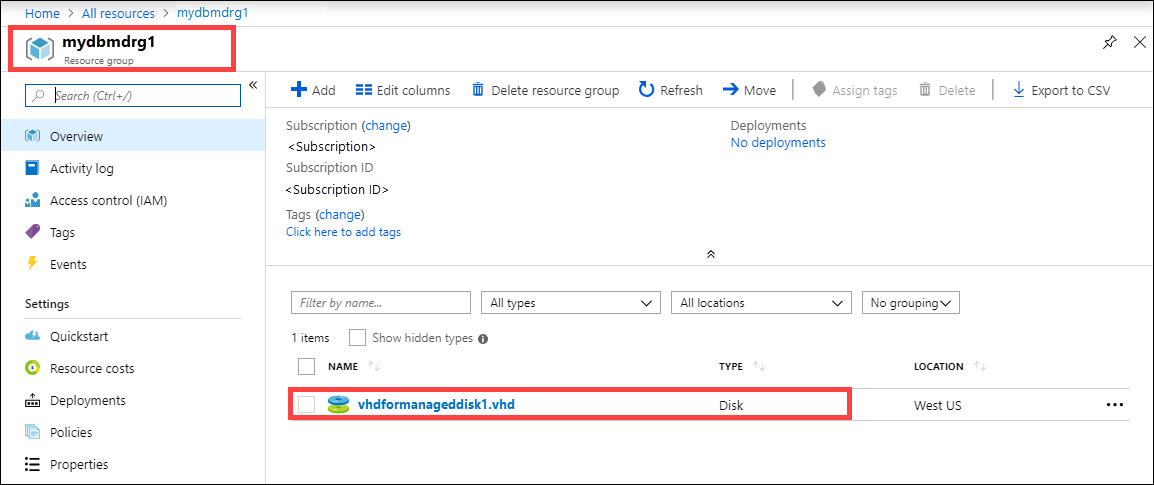
Go to the noted resource group and locate your managed disks.
If you copied a VHDX or a dynamic or differencing VHD, the VHDX or VHD is uploaded to the staging storage account as a page blob, but the conversion of the VHD to a managed disk will fail. Go to your staging Storage account > Blobs, and select the appropriate container - Standard SSD, Standard HDD, or Premium SSD. The VHDs are uploaded as page blobs in your staging storage account and accrue charges.
Erasure of data from Data Box
Once the upload to Azure is complete, the Data Box erases the data on its disks as per the NIST SP 800-88 Revision 1 guidelines.
Next steps
In this tutorial, you learned about Azure Data Box topics such as:
- Prerequisites
- Ship Data Box to Microsoft
- Verify data upload to Azure
- Erasure of data from Data Box
Advance to the following article to learn how to manage Data Box via the local web UI.