Note
Access to this page requires authorization. You can try signing in or changing directories.
Access to this page requires authorization. You can try changing directories.
This article shows you how to use the Azure portal to create a function app that's hosted in Azure Functions. These hosting plan options, which support dynamic, event-driven scaling, are featured:
| Hosting option | Description |
|---|---|
| Premium plan | Provides longer execution times, more control over CPU/memory, and support for containers and virtual networks. |
| Consumption plan | Legacy dynamic hosting plan that supports Windows apps. |
Choose your preferred hosting plan at the top of the article. For more information about all supported hosting options, see Azure Functions hosting options.
Prerequisites
If you don't have an Azure subscription, create a trial account before you begin.
Sign in to Azure
Sign in to the Azure portal with your Azure account.
Create a function app
You must have a function app to host the execution of your functions. A function app lets you group functions as a logical unit for easier management, deployment, scaling, and sharing of resources.
Use these steps to create your function app and related Azure resources in the Azure portal.
From the Azure portal menu or the Home page, select Create a resource.
In the New page, select Function App.
On the Basics page, use the function app settings as specified in the following table:
Setting Suggested value Description Subscription Your subscription The subscription under which you create your new function app. Resource Group myResourceGroup Name for the new resource group in which you create your function app. You should create a new resource group because there are known limitations when creating new function apps in an existing resource group. Function App name Globally unique name Name that identifies your new function app. Valid characters are a-z(case insensitive),0-9, and-. To guarantee a unique app name, you can optionally enable Secure unique default hostname, which is currently in preview.Runtime stack Preferred language Choose a runtime that supports your favorite function programming language. In-portal editing is only available for JavaScript, PowerShell, Python, TypeScript, and C# script.
To create a C# Script app that supports in-portal editing, you must choose a runtime Version that supports the in-process model.
C# class library and Java functions must be developed locally.Version Version number Choose the version of your installed runtime. Region Preferred region Select a region that's near you or near other services that your functions can access. Operating system Windows An operating system is preselected for you based on your runtime stack selection, but you can change the setting if necessary. In-portal editing is only supported on Windows. Accept the default options in the remaining tabs, including the default behavior of creating a new storage account on the Storage tab and a new Application Insight instance on the Monitoring tab. You can also choose to use an existing storage account or Application Insights instance.
Select Review + create to review the app configuration you chose, and then select Create to provision and deploy the function app.
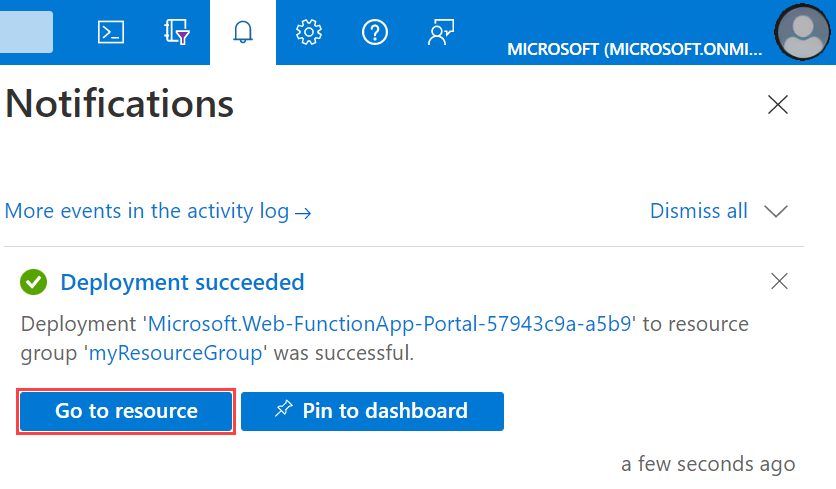
Select the Notifications icon in the upper-right corner of the portal and watch for the Deployment succeeded message.
Select Go to resource to view your new function app. You can also select Pin to dashboard. Pinning makes it easier to return to this function app resource from your dashboard.
From the Azure portal menu or the Home page, select Create a resource.
In the New page, select Compute > Function App.
Under Select a hosting option, select Functions Premium > Select to create your app in a Premium plan. In this serverless hosting option, you pay only for the time your functions run. To learn more about different hosting plans, see Overview of plans.
On the Basics page, use the function app settings as specified in the following table:
Setting Suggested value Description Subscription Your subscription The subscription under which this new function app is created. Resource Group myResourceGroup Name for the new resource group in which to create your function app. Function App name Globally unique name Name that identifies your new function app. Valid characters are a-z(case insensitive),0-9, and-. To guarantee a unique app name, you can optionally enable Secure unique default hostname, which is currently in preview.Do you want to deploy code or container image? Code Option to publish code files or a Docker container. Operating system Preferred OS Choose either Linux or Windows. Runtime stack Preferred language Choose a runtime that supports your favorite function programming language. Version Supported language version Choose a supported version of your function programming language. Region Preferred region Choose a region near you or near other services your functions access. Under Environment details for either Windows Plan or Linux Plan, select Create new, Name your App Service plan, and select a Pricing plan. The default pricing plan is EP1, where EP stands for elastic premium. To learn more, see the list of Premium SKUs. When running JavaScript functions on a Premium plan, you should choose an instance that has fewer vCPUs. For more information, see Choose single-core Premium plans.
Unless you want to enable Zone Redundancy, keep the default value of Disabled.
Select Next: Storage. On the Storage page, create the default host storage account required by your function app. Storage account names must be between 3 and 24 characters in length and only can contain numbers and lowercase letters. You can also use an existing account, which must meet the storage account requirements.
Unless you're enabling virtual network integration, select Next: Monitoring to skip the Networking tab. On the Monitoring page, enter the following settings:
Setting Suggested value Description Enable Application Insights Yes Enables built-in Application Insight integration for monitoring your functions code. Application Insights Default Creates an Application Insights resource of the same App name in the nearest supported region. By expanding this setting, you can change the New resource name or choose a different Location in an Azure geography to store your data. Select Review + create to accept the defaults for the remaining pages and review the app configuration selections.
On the Review + create page, review your settings, and then select Create to provision and deploy the function app.
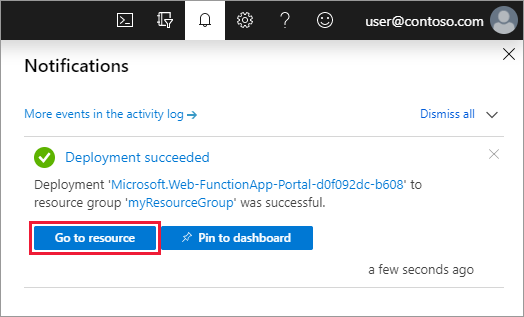
Select the Notifications icon in the upper-right corner of the portal and watch for the Deployment succeeded message.
Select Go to resource to view your new function app. You can also select Pin to dashboard. Pinning makes it easier to return to this function app resource from your dashboard.
Next steps
You can now deploy a code project to the function app resources you created in Azure.
You can create, verify, and deploy a code project to your new function app from these local environments: